Use the Reseller Control Panel (RCP) to manage your communications with your customers' branding.
To manage your branding:
- Click on Account settings.

- Select the Branding tab.

There are four sections on the Branding page:
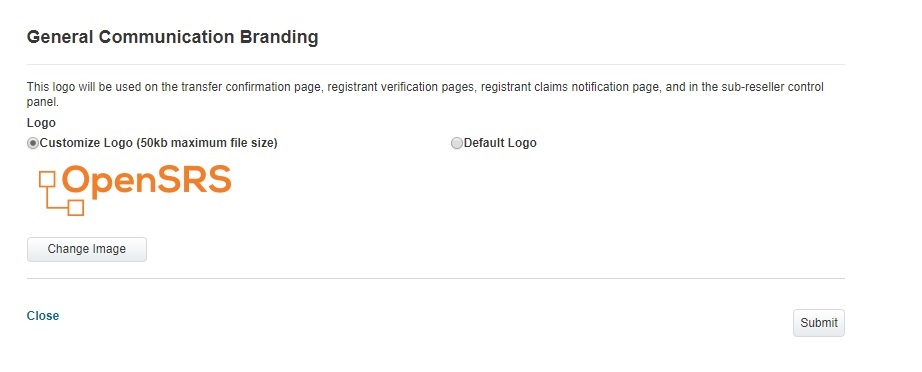
General communication branding
In the General communication branding section you can set a logo that will be used on your:
- Transfer confirmation page
- Registrant verification pages
- Registrant claims notification page
- Sub-reseller control panel
Click Edit to begin.

To set a logo:
- Select Customize logo, and the upload image button will appear.
- Click Upload image, select your image file and upload.
- Click Submit at the bottom right of the editing window to save your image.
If you select No logo, any image file you've uploaded will be deleted, and you will need to upload a new one if you want your communications to include your logo again. Once you've added a logo, the image will be displayed on the Branding page
- Click Change image.
- Upload a new image.
- Click Submit on the bottom right of the page.
End-User Management Interface
When enabled, the Manage Web Interface (MWI) provides your end-users with a space to manage their domains. In the MWI section, you can:
- Enable and disable the MWI
- Choose to hide or show auth codes to end-users
- Enable or disable the ability for end-users to reset their password on login
- Click Edit to begin.
- If you disable MWI access, enter your URL in the Redirect to field. This redirect page can be an alternate management interface you have provided, an error page, your website or any other valid url.
- Click Submit to save your changes.
Transfer domain confirmation page
In the Transfer domain confirmation page section, you can customize the text used on your transfer confirmation page.
If you have a logo uploaded, it will appear on this page.
- Click Edit to begin.
- Enter your custom text.
Note: Text in this field cannot be formatted, and line breaks cannot be added.

- Click Preview at the bottom right of the edit window to see what your customization will look like.
- Click Back to make changes and Submit to save your customization.
Registrant Verification page
In the Registrant verification page section, you can customize both the ICANN Registration Verification page and the .UK domains Data Quality page.
If you have a logo uploaded, it will appear on these pages.
- Click Edit to begin.
- Select the OpenSRS default or a Custom hostname for your registrant verification page URL.
- You can also set the URL that customers will be directed to after they confirm their information, but this is not required.
- Enter Custom header text and/or Customer footer text for the ICANN and .UK Domains Data pages if you wish.
Text in these fields cannot be formatted, and line breaks cannot be added. - Click the Preview buttons under each section to see what the customizations look like.

- Click Back to make changes and Submit to save your customization.
Trademark claims notification page
In the Trademark claims notification page section, you can customize the following:
- The page URL
- Custom header and/or footer text
- URLs for redirect after accepting and/or rejecting claims notification
Note: To set up a custom hostname you must first set up a CNAME record on the domain, which points that subdomain to approve.domainadmin.com.
If you have a logo uploaded, it will appear on this page.
- Click Edit to begin.
- Select the OpenSRS default or a Custom hostname for your registrant verification page URL. You can test the custom hostname link that you've set up as well.
- Enter Custom header text and/or Customer footer text for the ICANN and .UK Domains Data pages if you wish.
Note: Text in these fields cannot be formatted, and line breaks cannot be added. - Enter the URLs for redirecting when a customer accepts or rejects the claims notification.

- Click the Preview buttons under each section to see what the customizations look like.
- Click Back to make changes and Submit to save your customization.
Was this article helpful? If not please submit a request here
How helpful was this article?
Thanks for your feedback!


